Locofy Builder Tour
Get familiar with Locofy Builder and how to work with live, production-ready code.
Accessing Locofy Builder
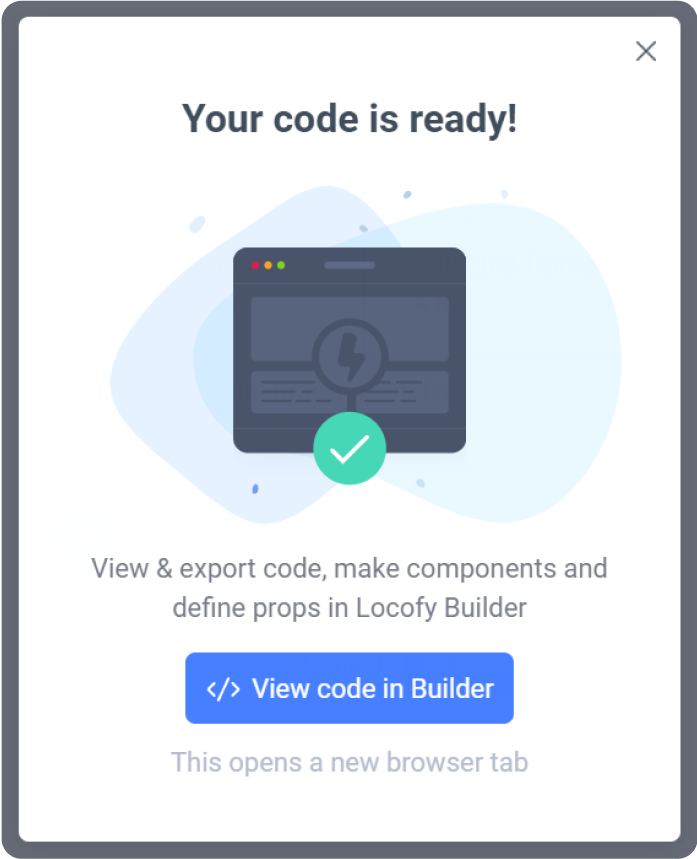
With Import from URL, Locofy Builder opens automatically after your Figma design is imported and code generation completes. You can also open any existing project from your Locofy dashboard.
- Paste your Figma URL and click Generate during project setup.
- When conversion finishes, click Open in Builder from the success screen—or select the project from your dashboard.
NOTE: Locofy Builder requires a monitor or laptop with a screen width of at least 960px. This is necessary to display the left sidebar, preview panel, and right panel simultaneously.
Sections of the Locofy Builder
Locofy Builder consists of the following main sections:
- Top Toolbar – Project management, collaboration, mode switching, and responsive controls
- Preview Screen Panel – Live preview of running code
- Code Viewer Panel – Read-only view of generated code
- Left Side Panel – File explorer, layers, components, GitHub sync
- Right Side Panel (Visual Mode) – Component, configuration, export, and deployment controls
- Agent Mode – Prompt-based UI refinement on live code
Let's walk through each section in detail.
Top Toolbar
The top toolbar provides access to project management, collaboration, mode switching, and responsive preview controls.

Project manager
Switch between different Locofy projects directly from the toolbar.

Collaborators
Invite and manage team members working on the project. You can assign users as collaborators or owners.

Mode switch: Visual Mode and Agent Mode
The mode switch in the center of the top toolbar lets you toggle between Visual Mode and Agent Mode.
- Visual Mode is the default Builder experience. It uses the right-side panel to manage components, props, configuration, exports, and deployments.
- Agent Mode replaces the Visual Mode panel with a prompt-based interface, allowing you to refine and enhance your UI using natural language.
You can switch between modes at any time. Both modes operate on the same live, running code.
Switch media queries
Preview your application on different screen sizes by switching between media query presets.

Preview Screen Panel
This panel displays your project running on live code. What you see here reflects the actual generated output.
It includes Live Preview, Screens Gallery, Page Navigation, Zoom, and Prototype Mode.
Live preview
- Displays the running UI generated by Locofy.
- Click any element to select it.
- Selecting an element highlights it in the Layers panel and surfaces its available settings in Visual Mode.

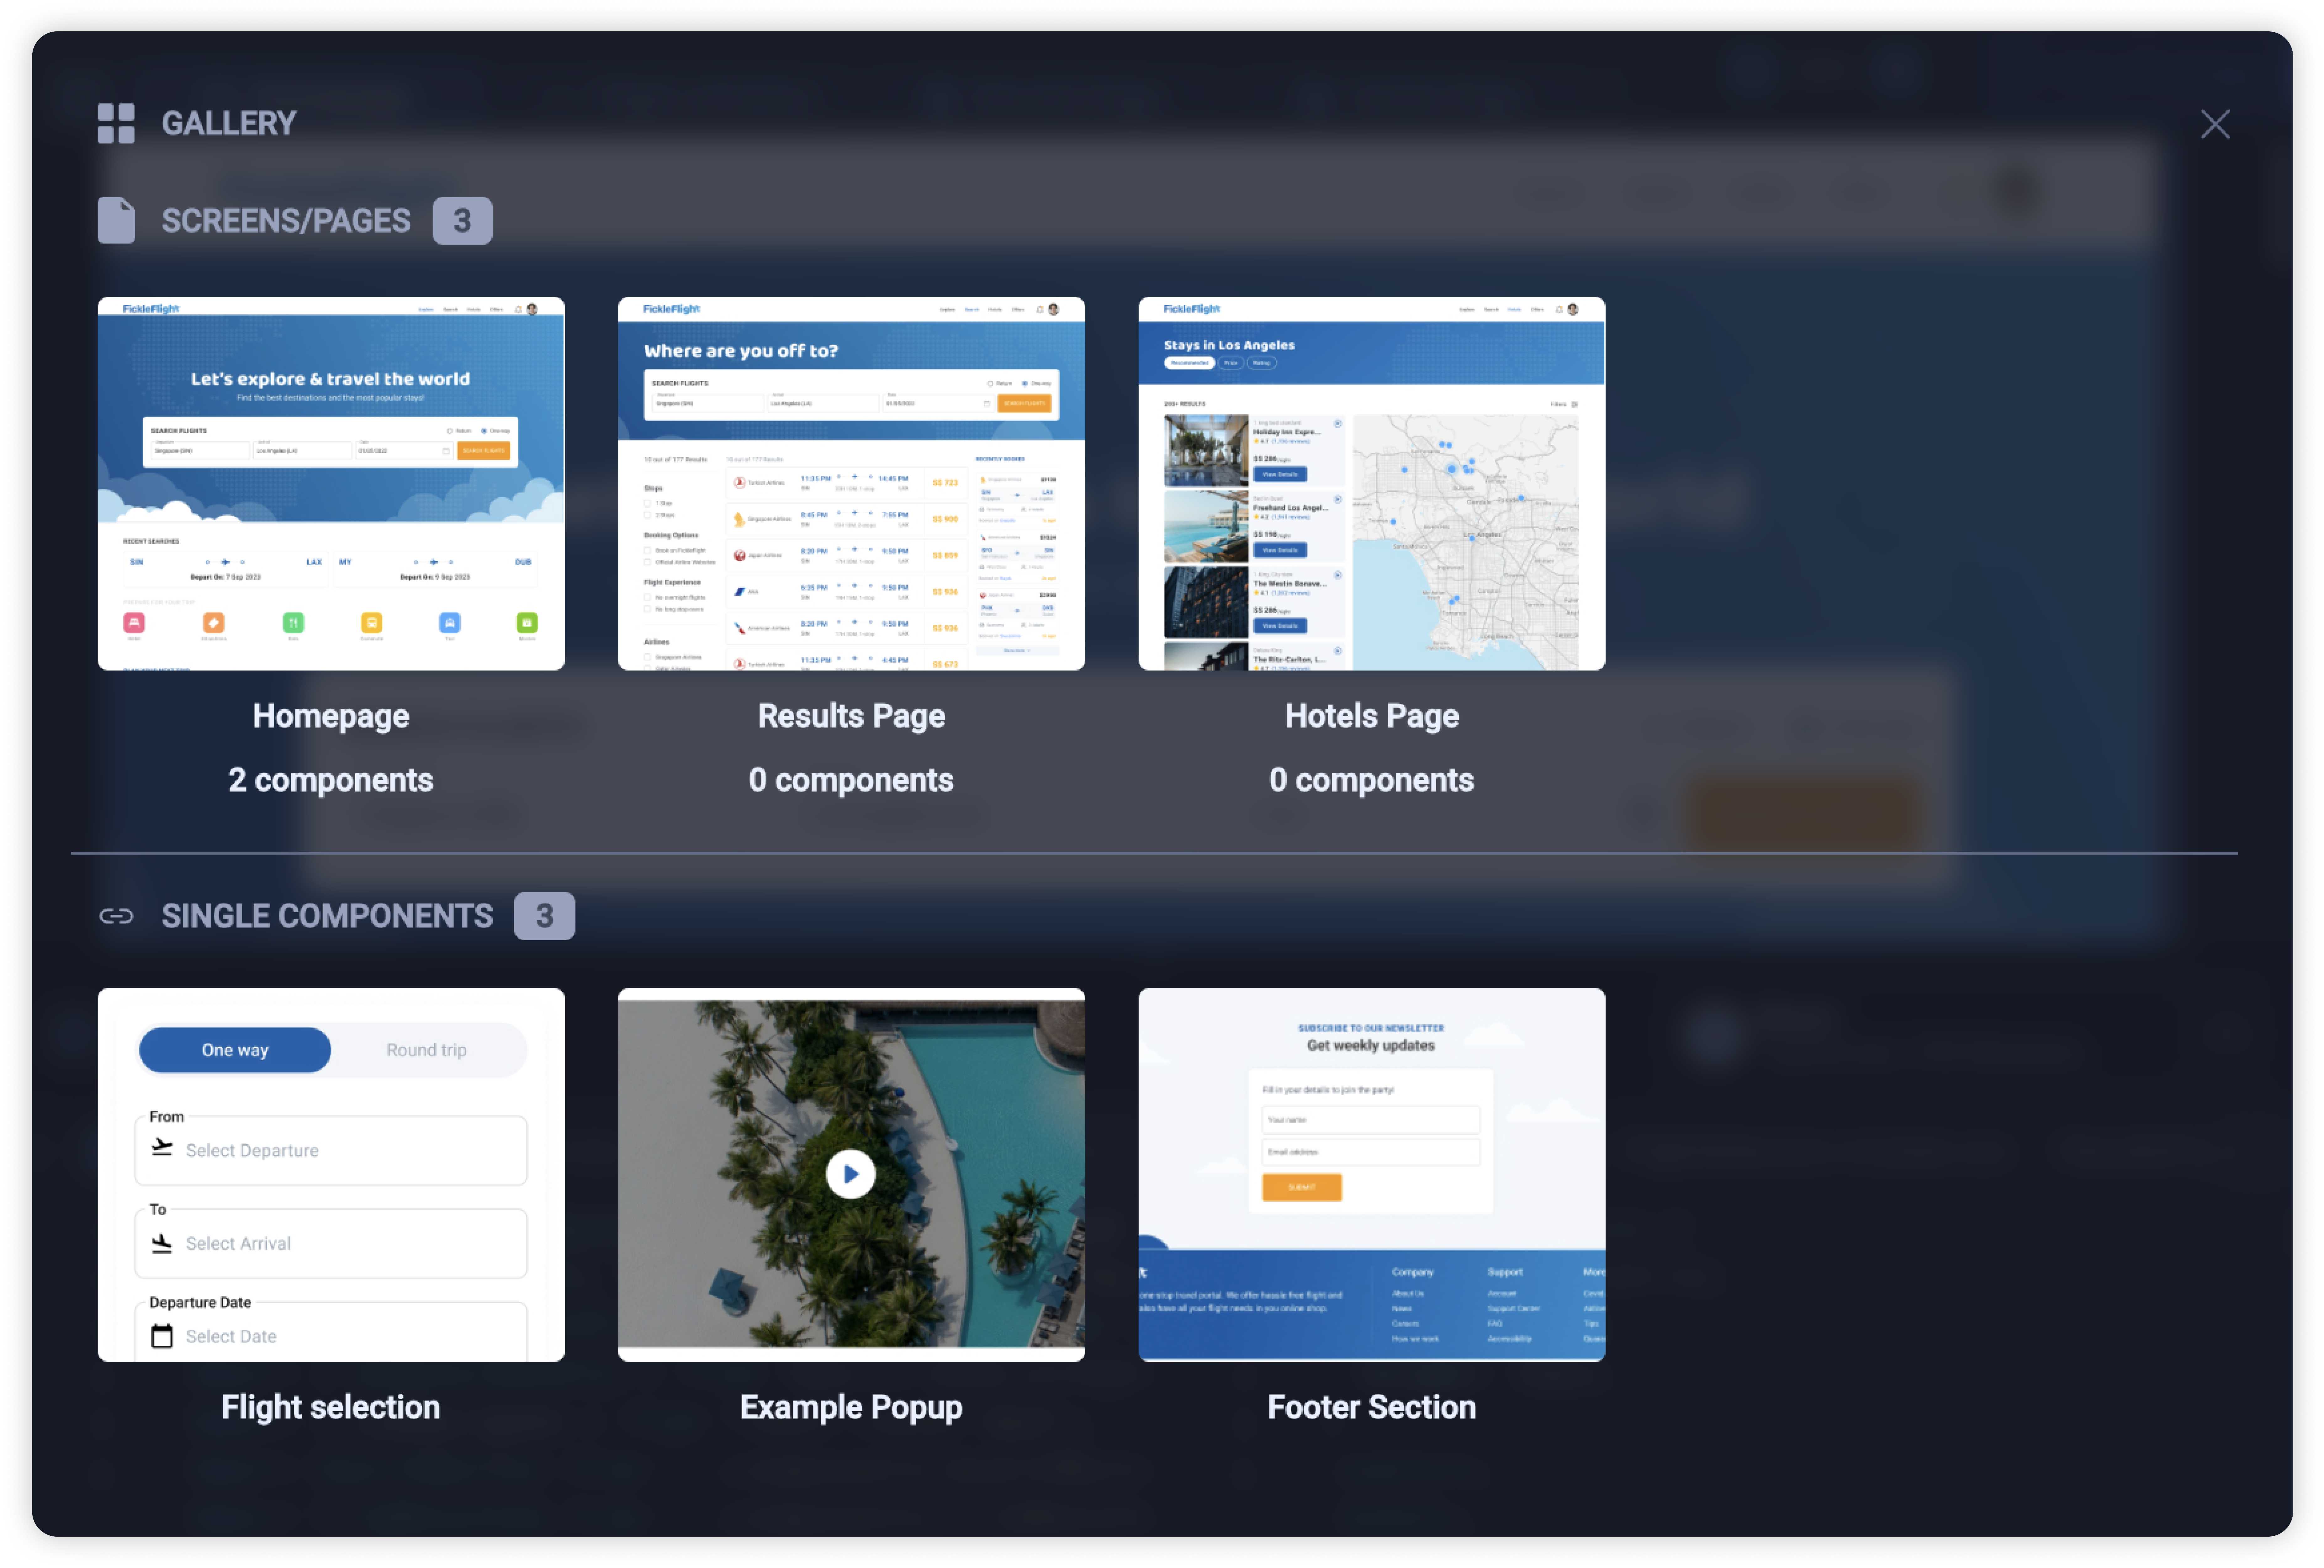
Screens Gallery
View all screens and standalone components at a glance and switch between them easily.
Page Navigation
Navigate between pages using the dedicated page tabs.

Zoom
Adjust the zoom level of the live preview.

Prototype mode
Preview your project with interactive navigation and actions enabled.
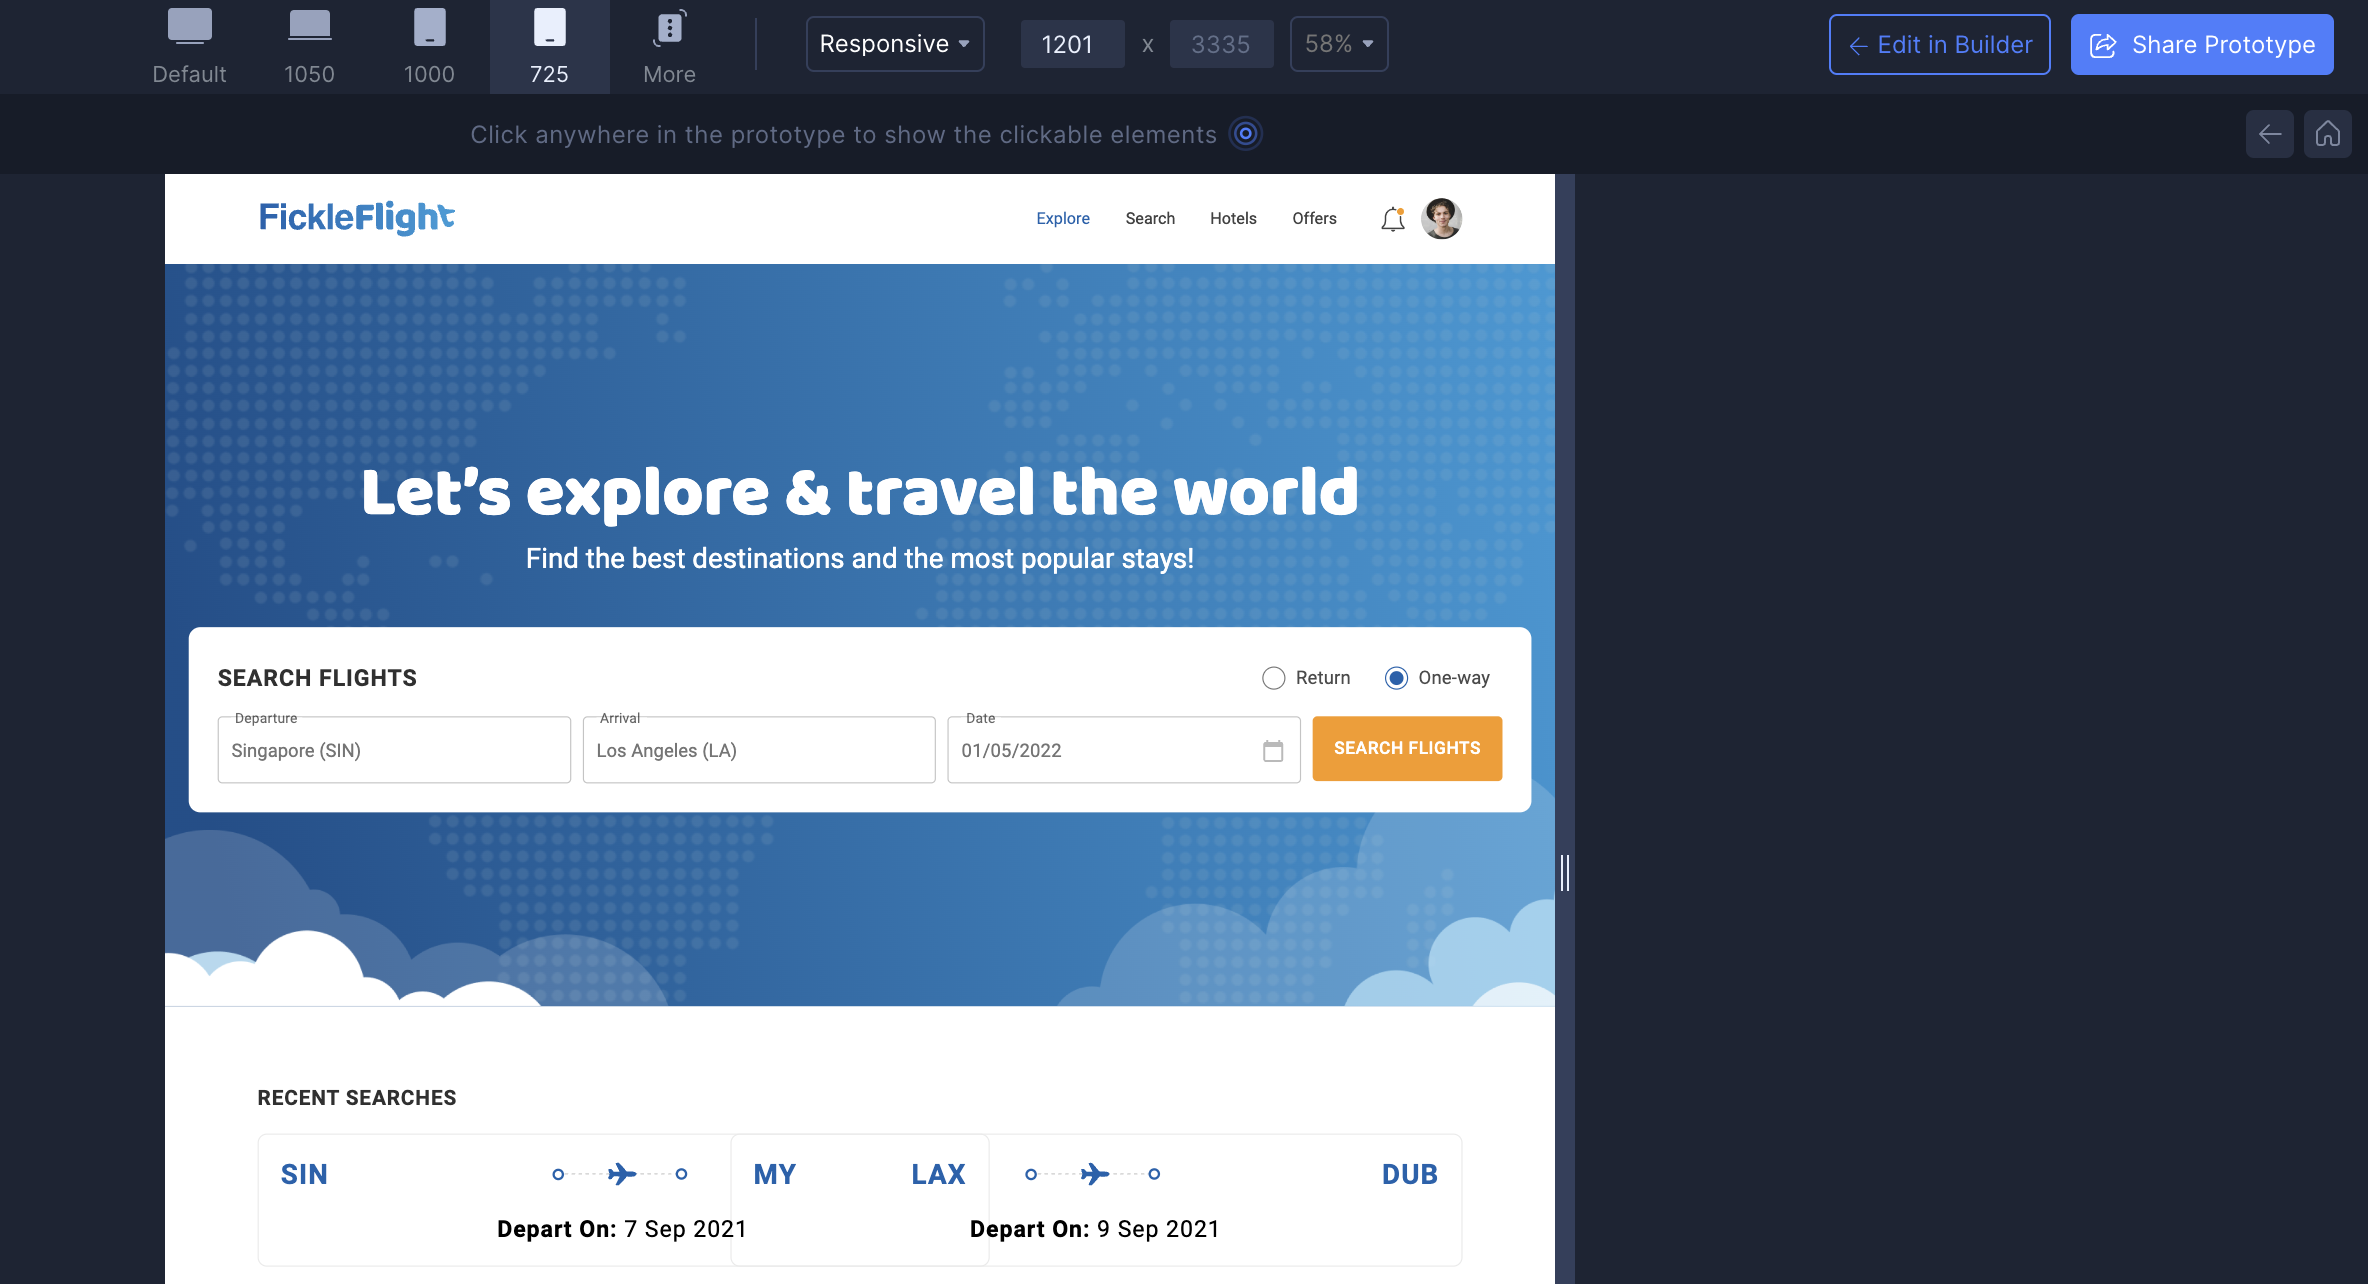
You can also share the live prototype with stakeholders using Share prototype.

Code Viewer Panel
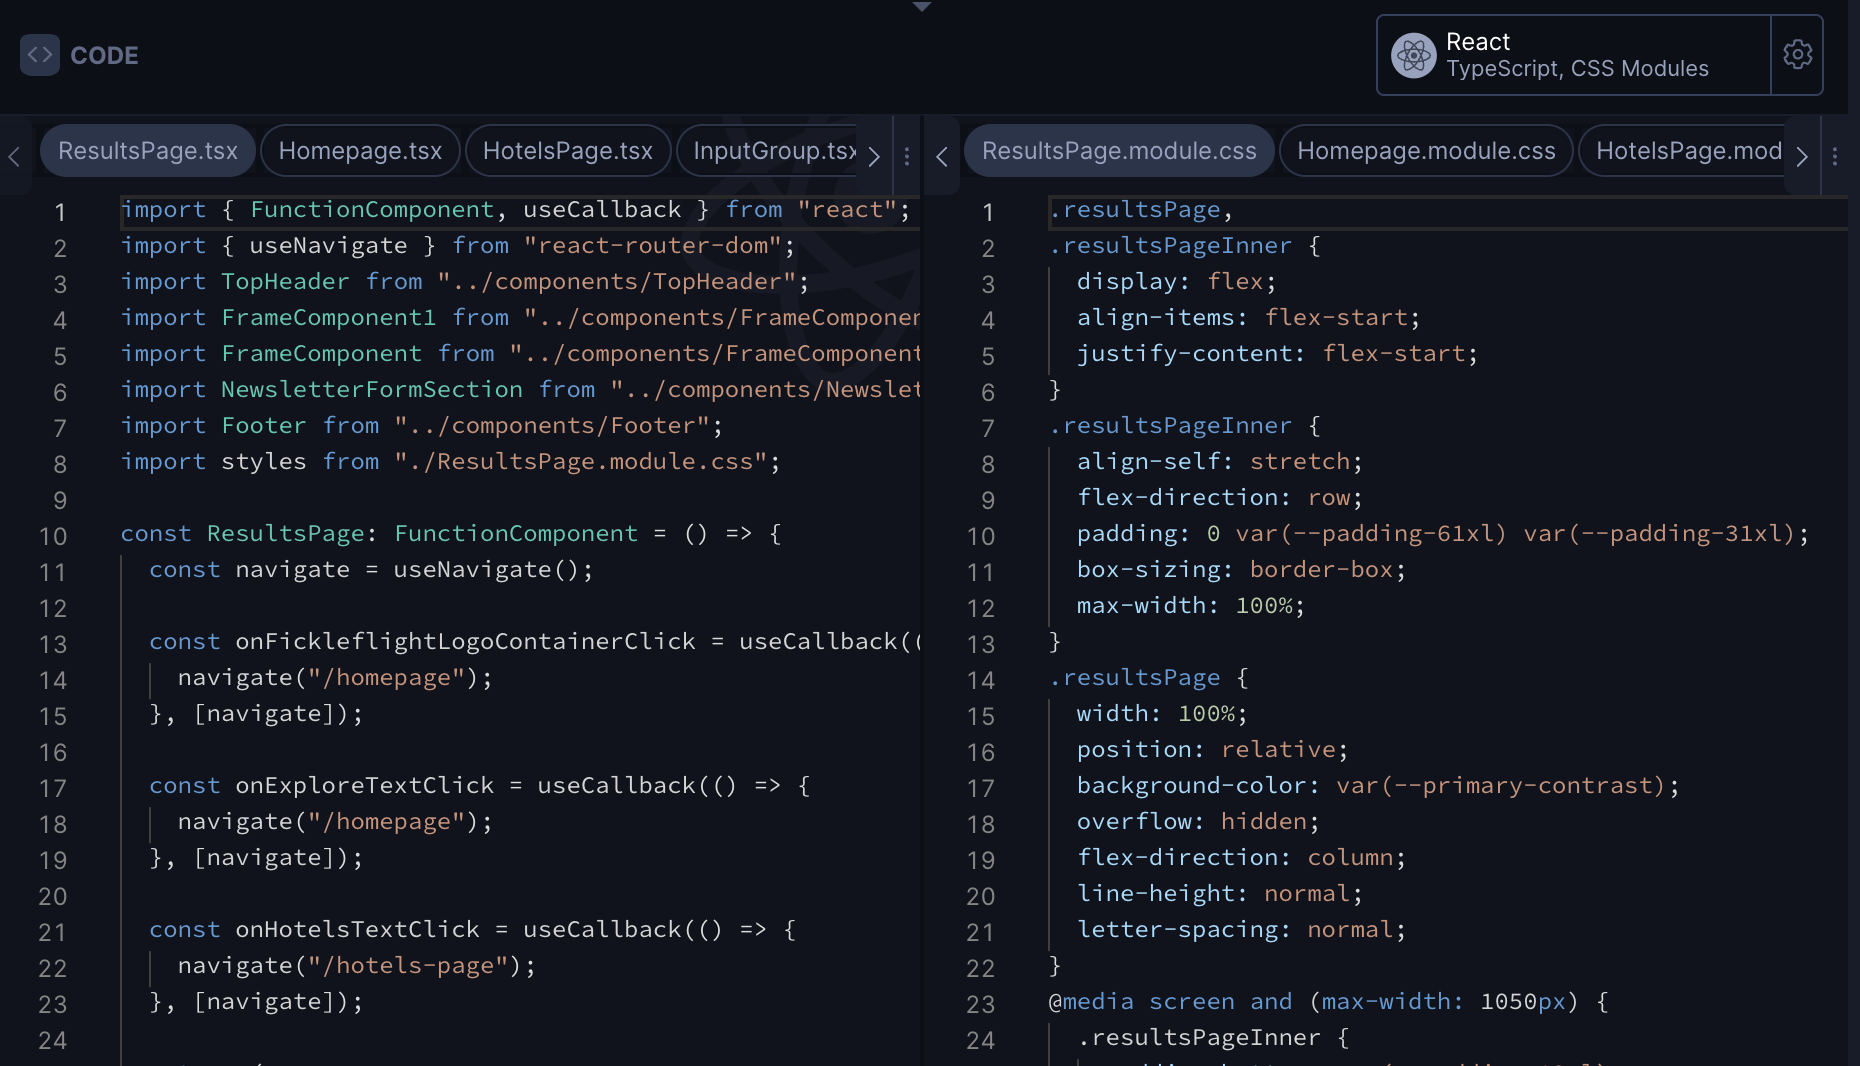
This panel lets you view the generated code and inspect framework-level settings.
Code viewer
- View and navigate between files.
- Copy code snippets easily.
- JavaScript or TypeScript appears on the left, CSS on the right based on your framework.

Framework settings
Update framework-specific settings using the controls in the top-right of the Code Viewer.

Left Side Panel
The left panel contains tools for project structure, layers, components, and GitHub sync.
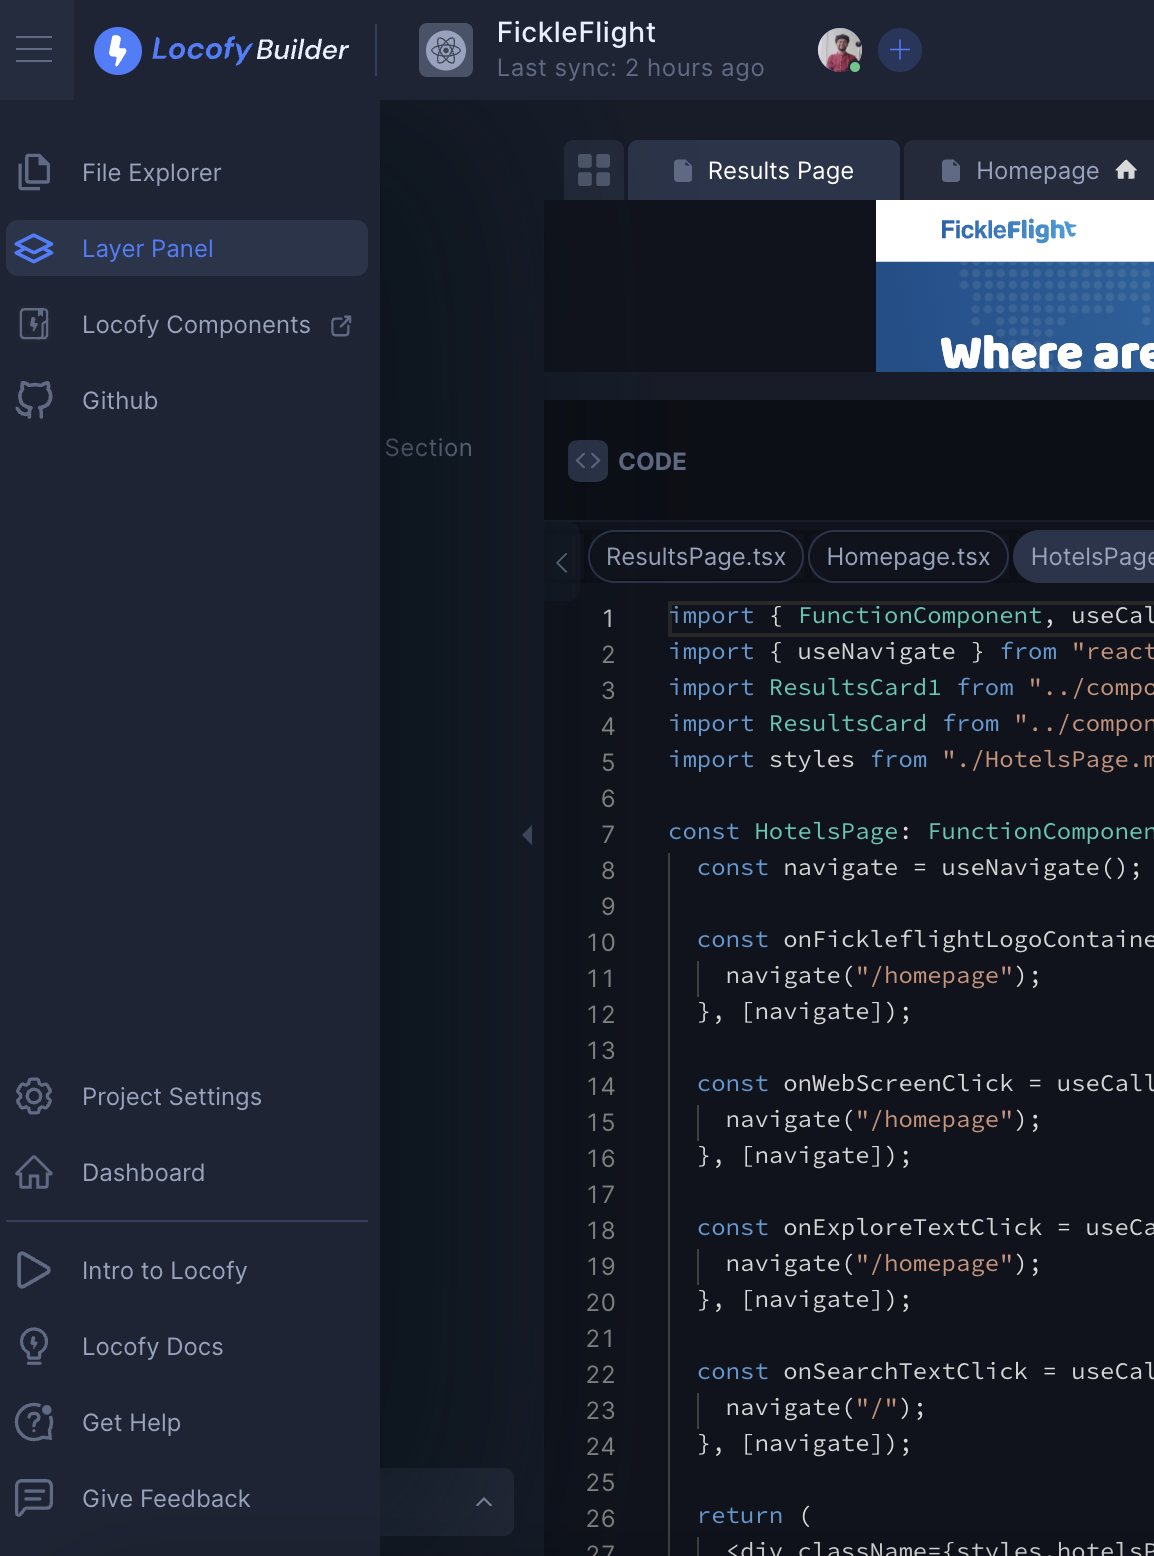
File explorer
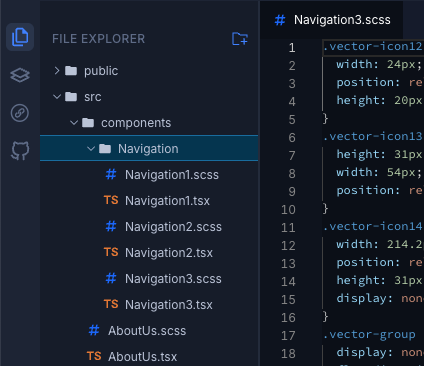
A read-only view of your codebase that allows you to rename files and manage folder structure.
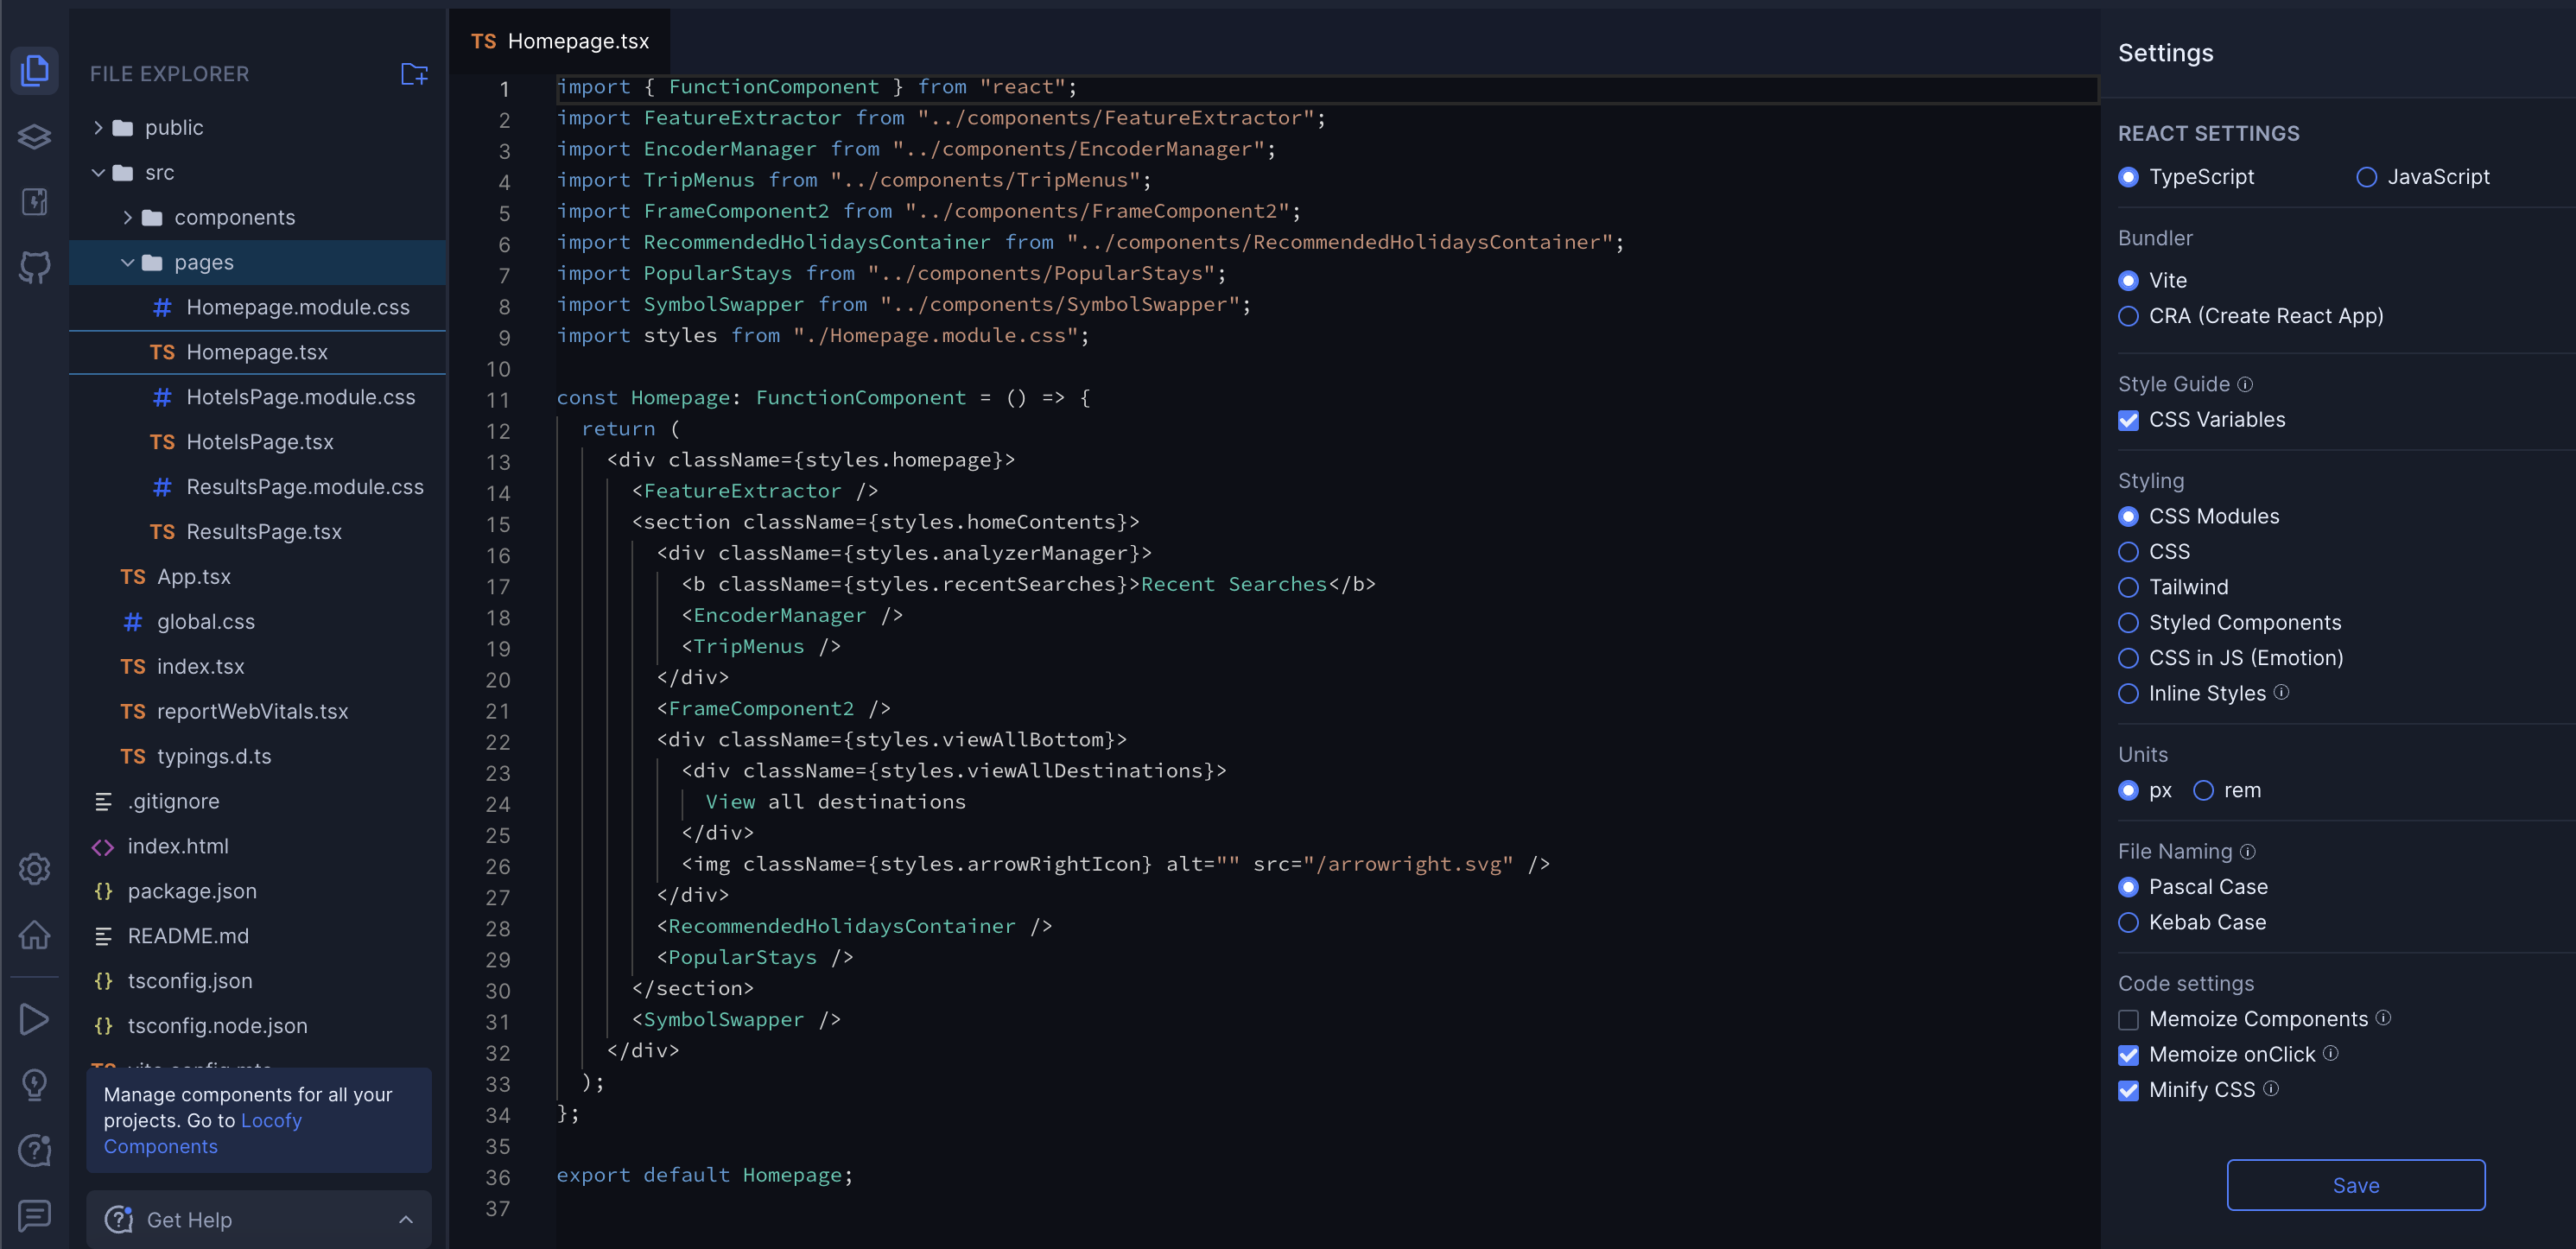
You can create folders, move files, and Locofy will automatically update imports.
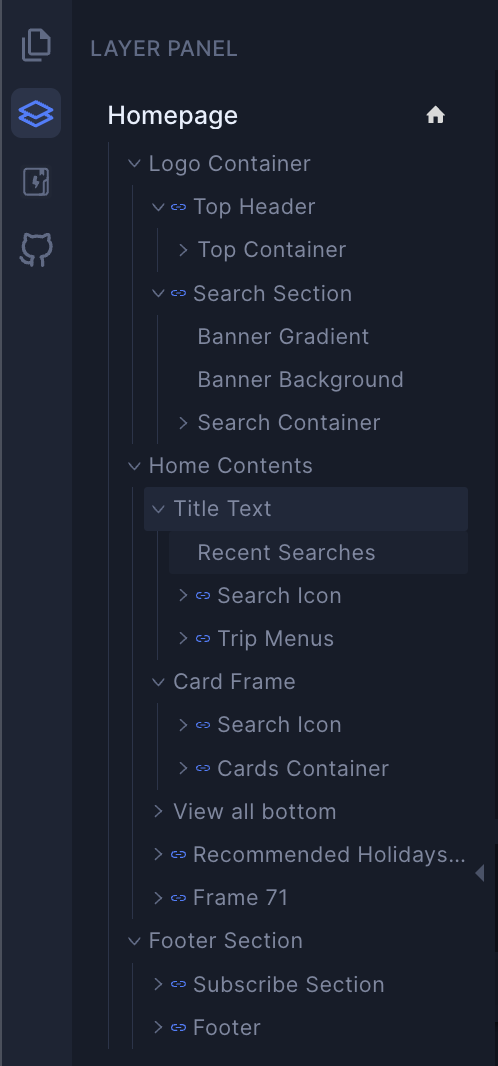
Layer panel
- Displays the layer structure from your original design.
- Selecting a layer highlights it in the live preview.
- Components are marked with a clip icon.

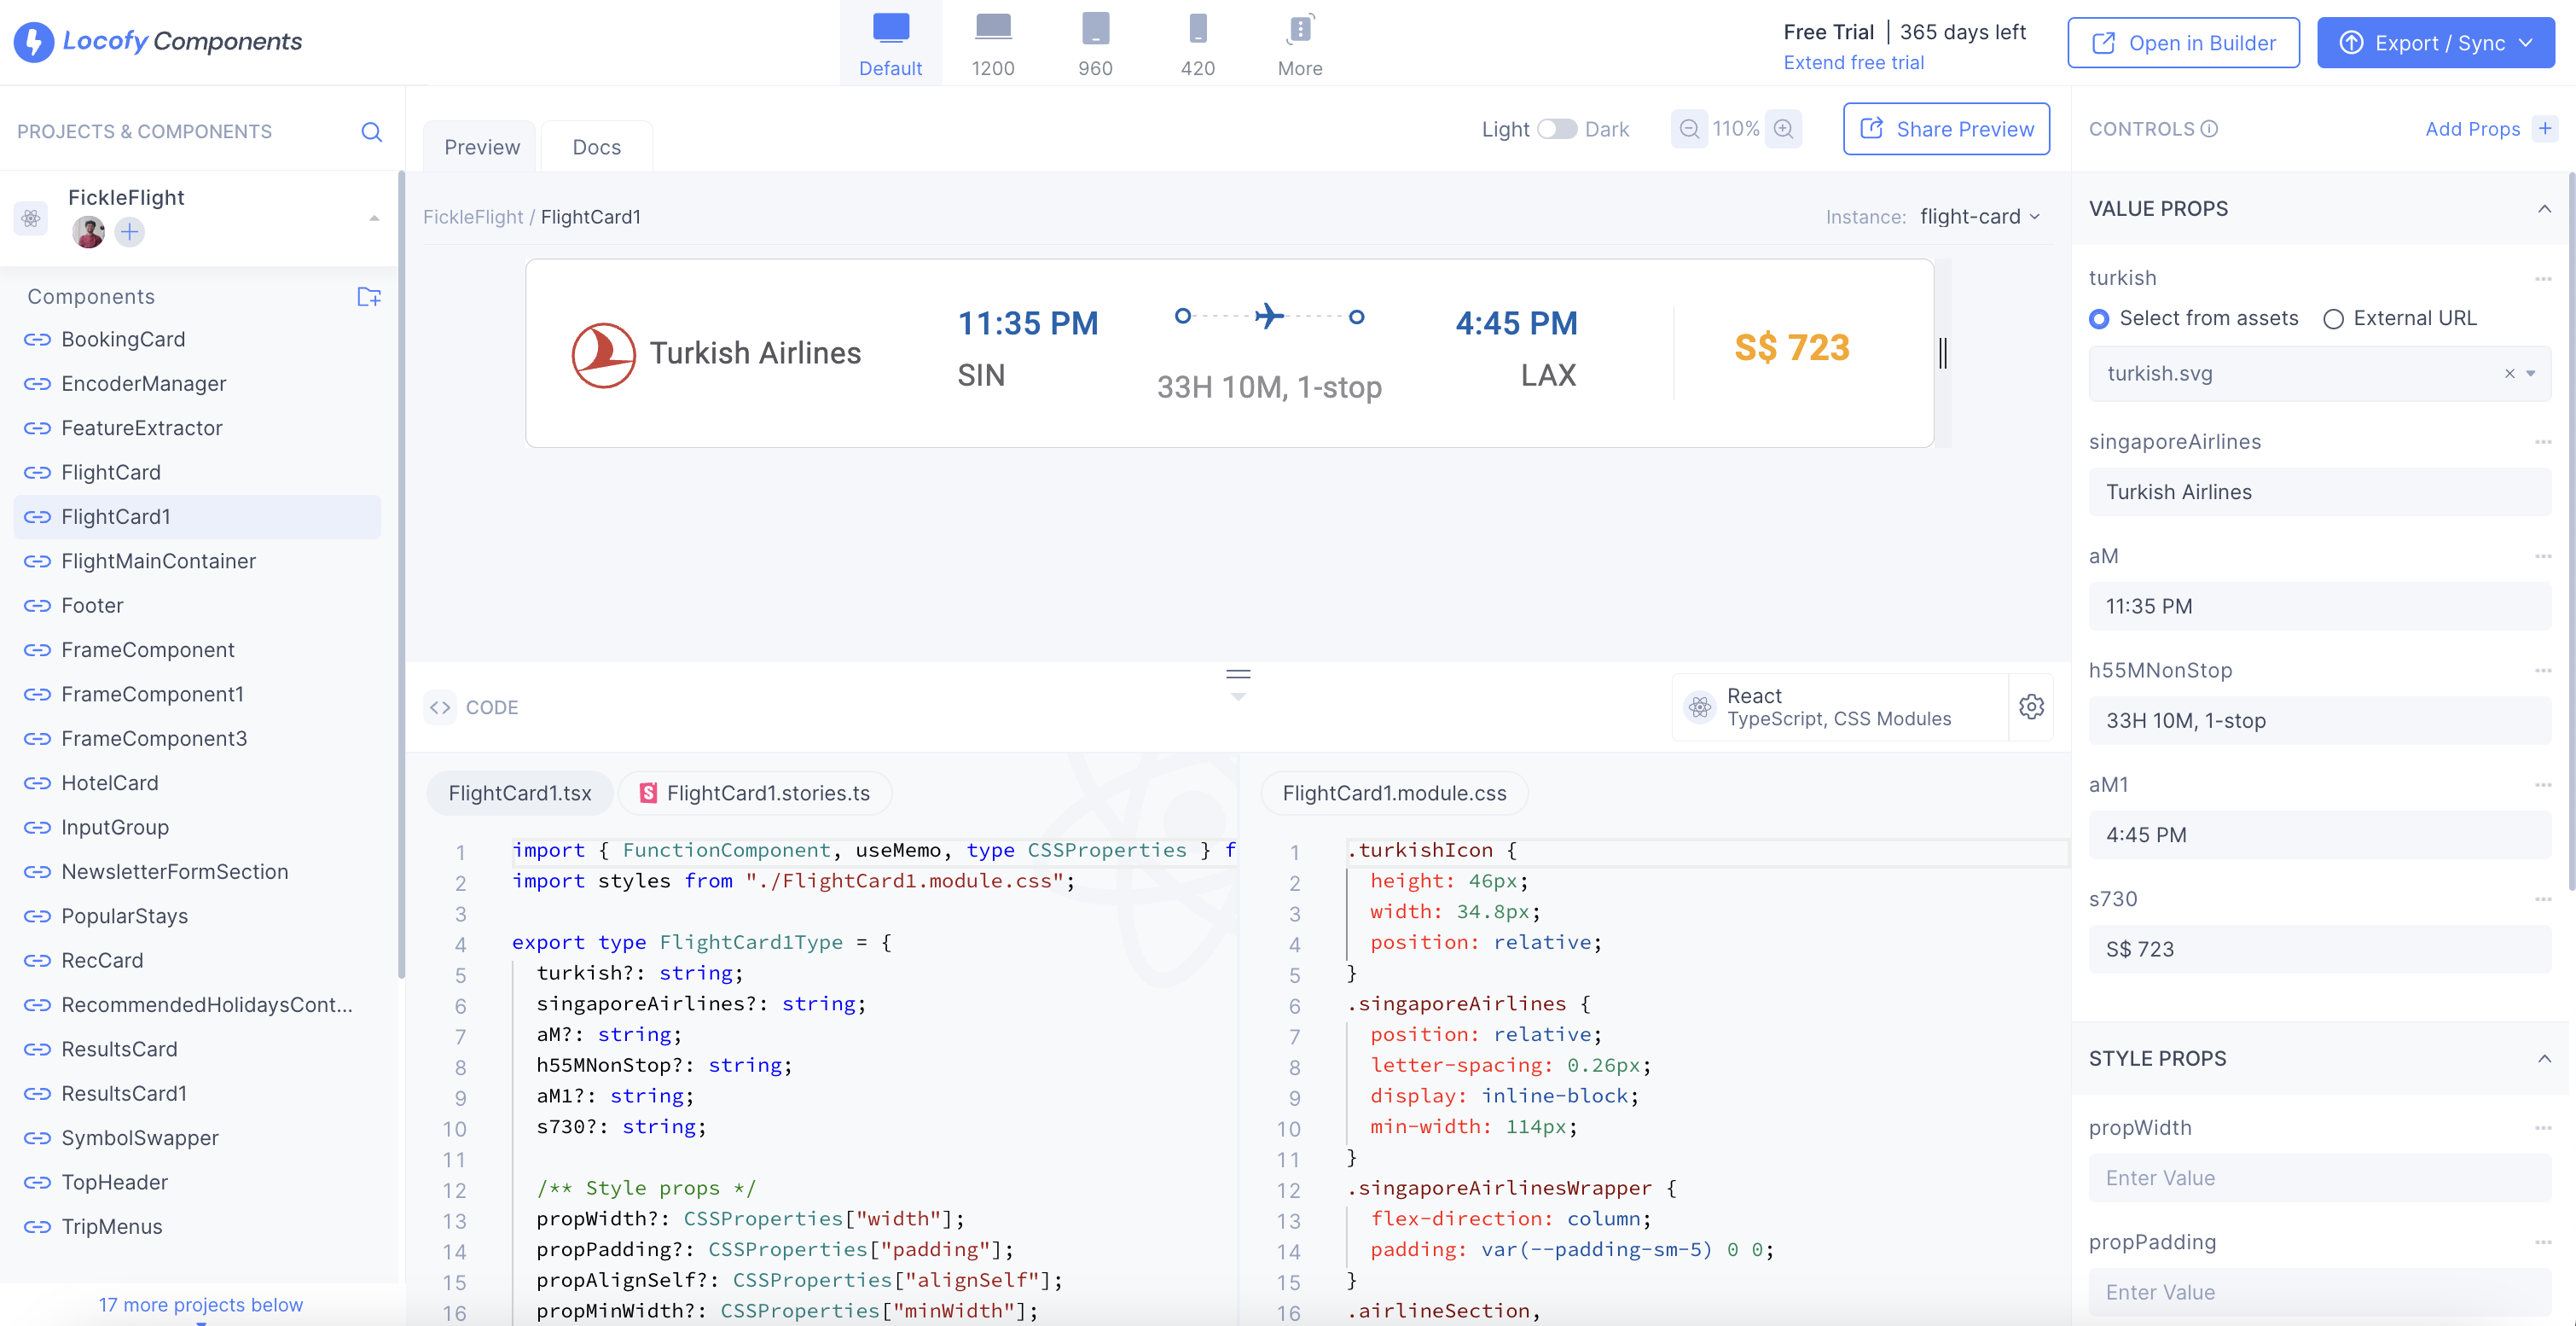
Locofy components
Manage all components and props from a centralized interface.
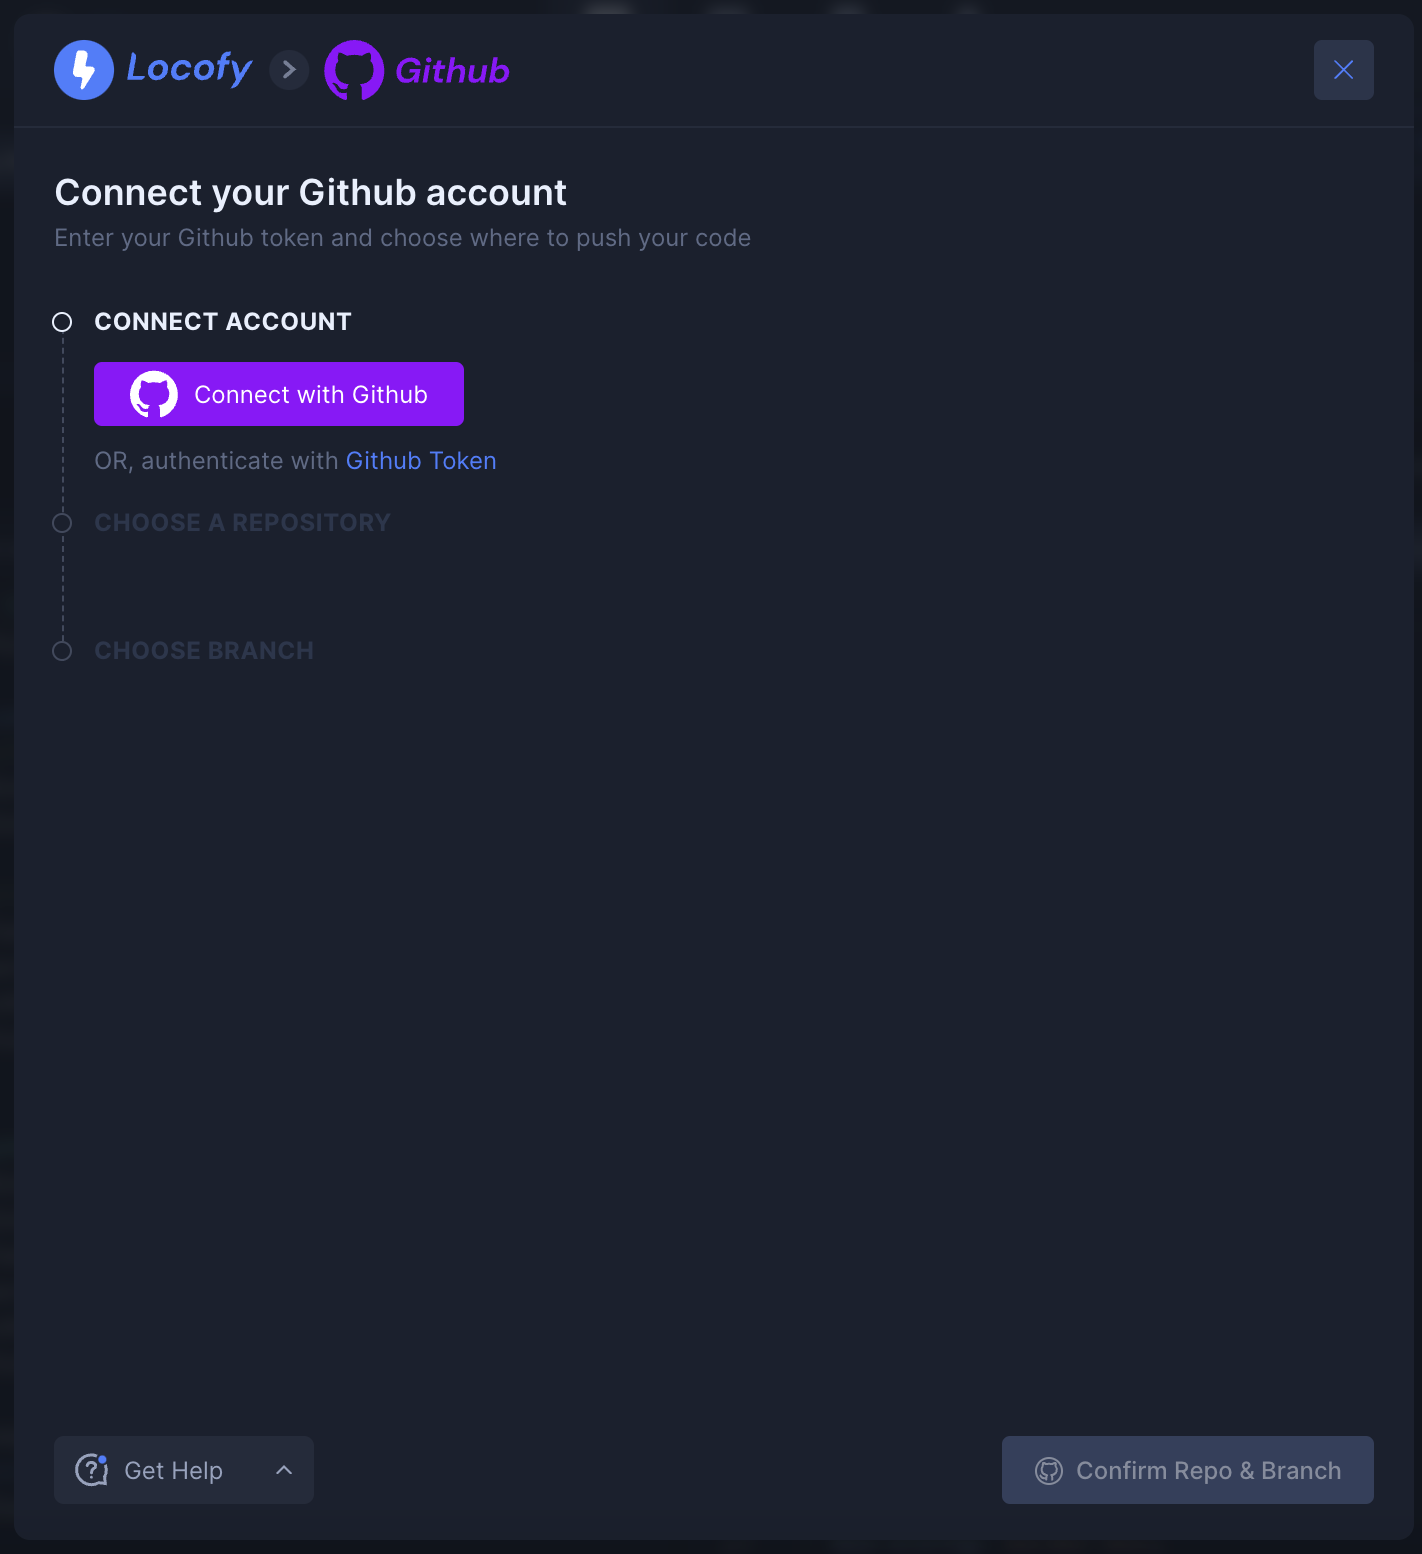
GitHub sync
Push your project to GitHub by connecting your account and choosing a new or existing repository.
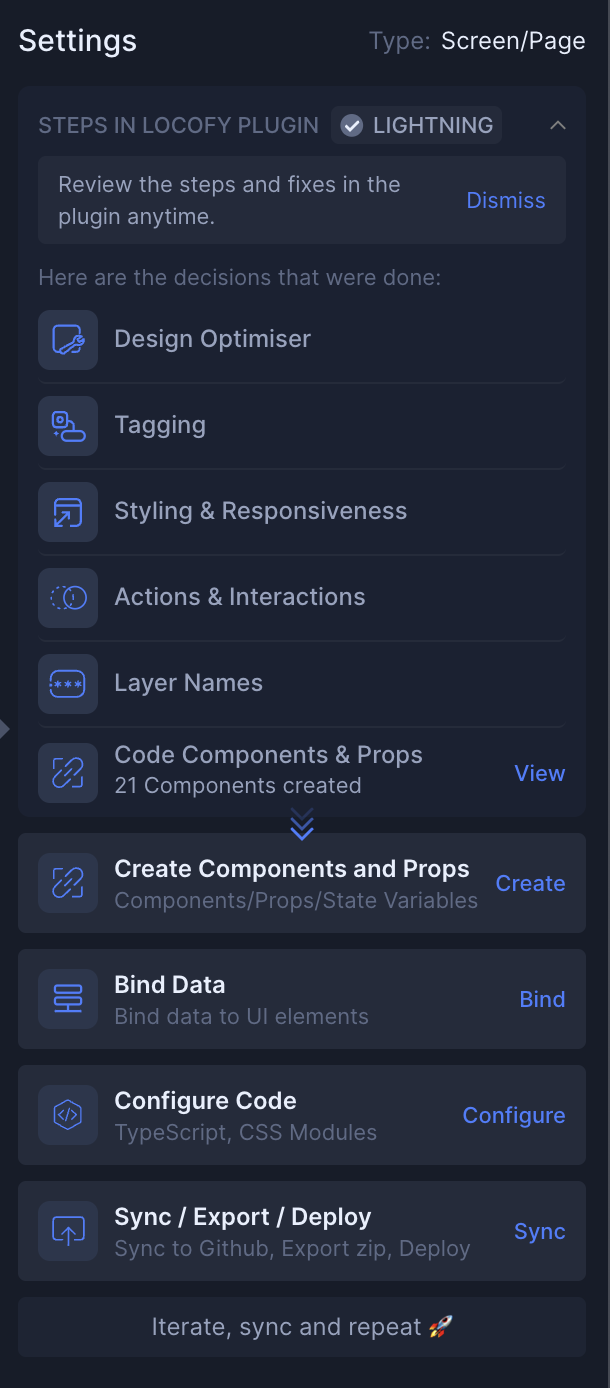
Right Side Panel (Visual Mode)
This panel is active when Visual Mode is enabled. It provides structured controls for managing your project.
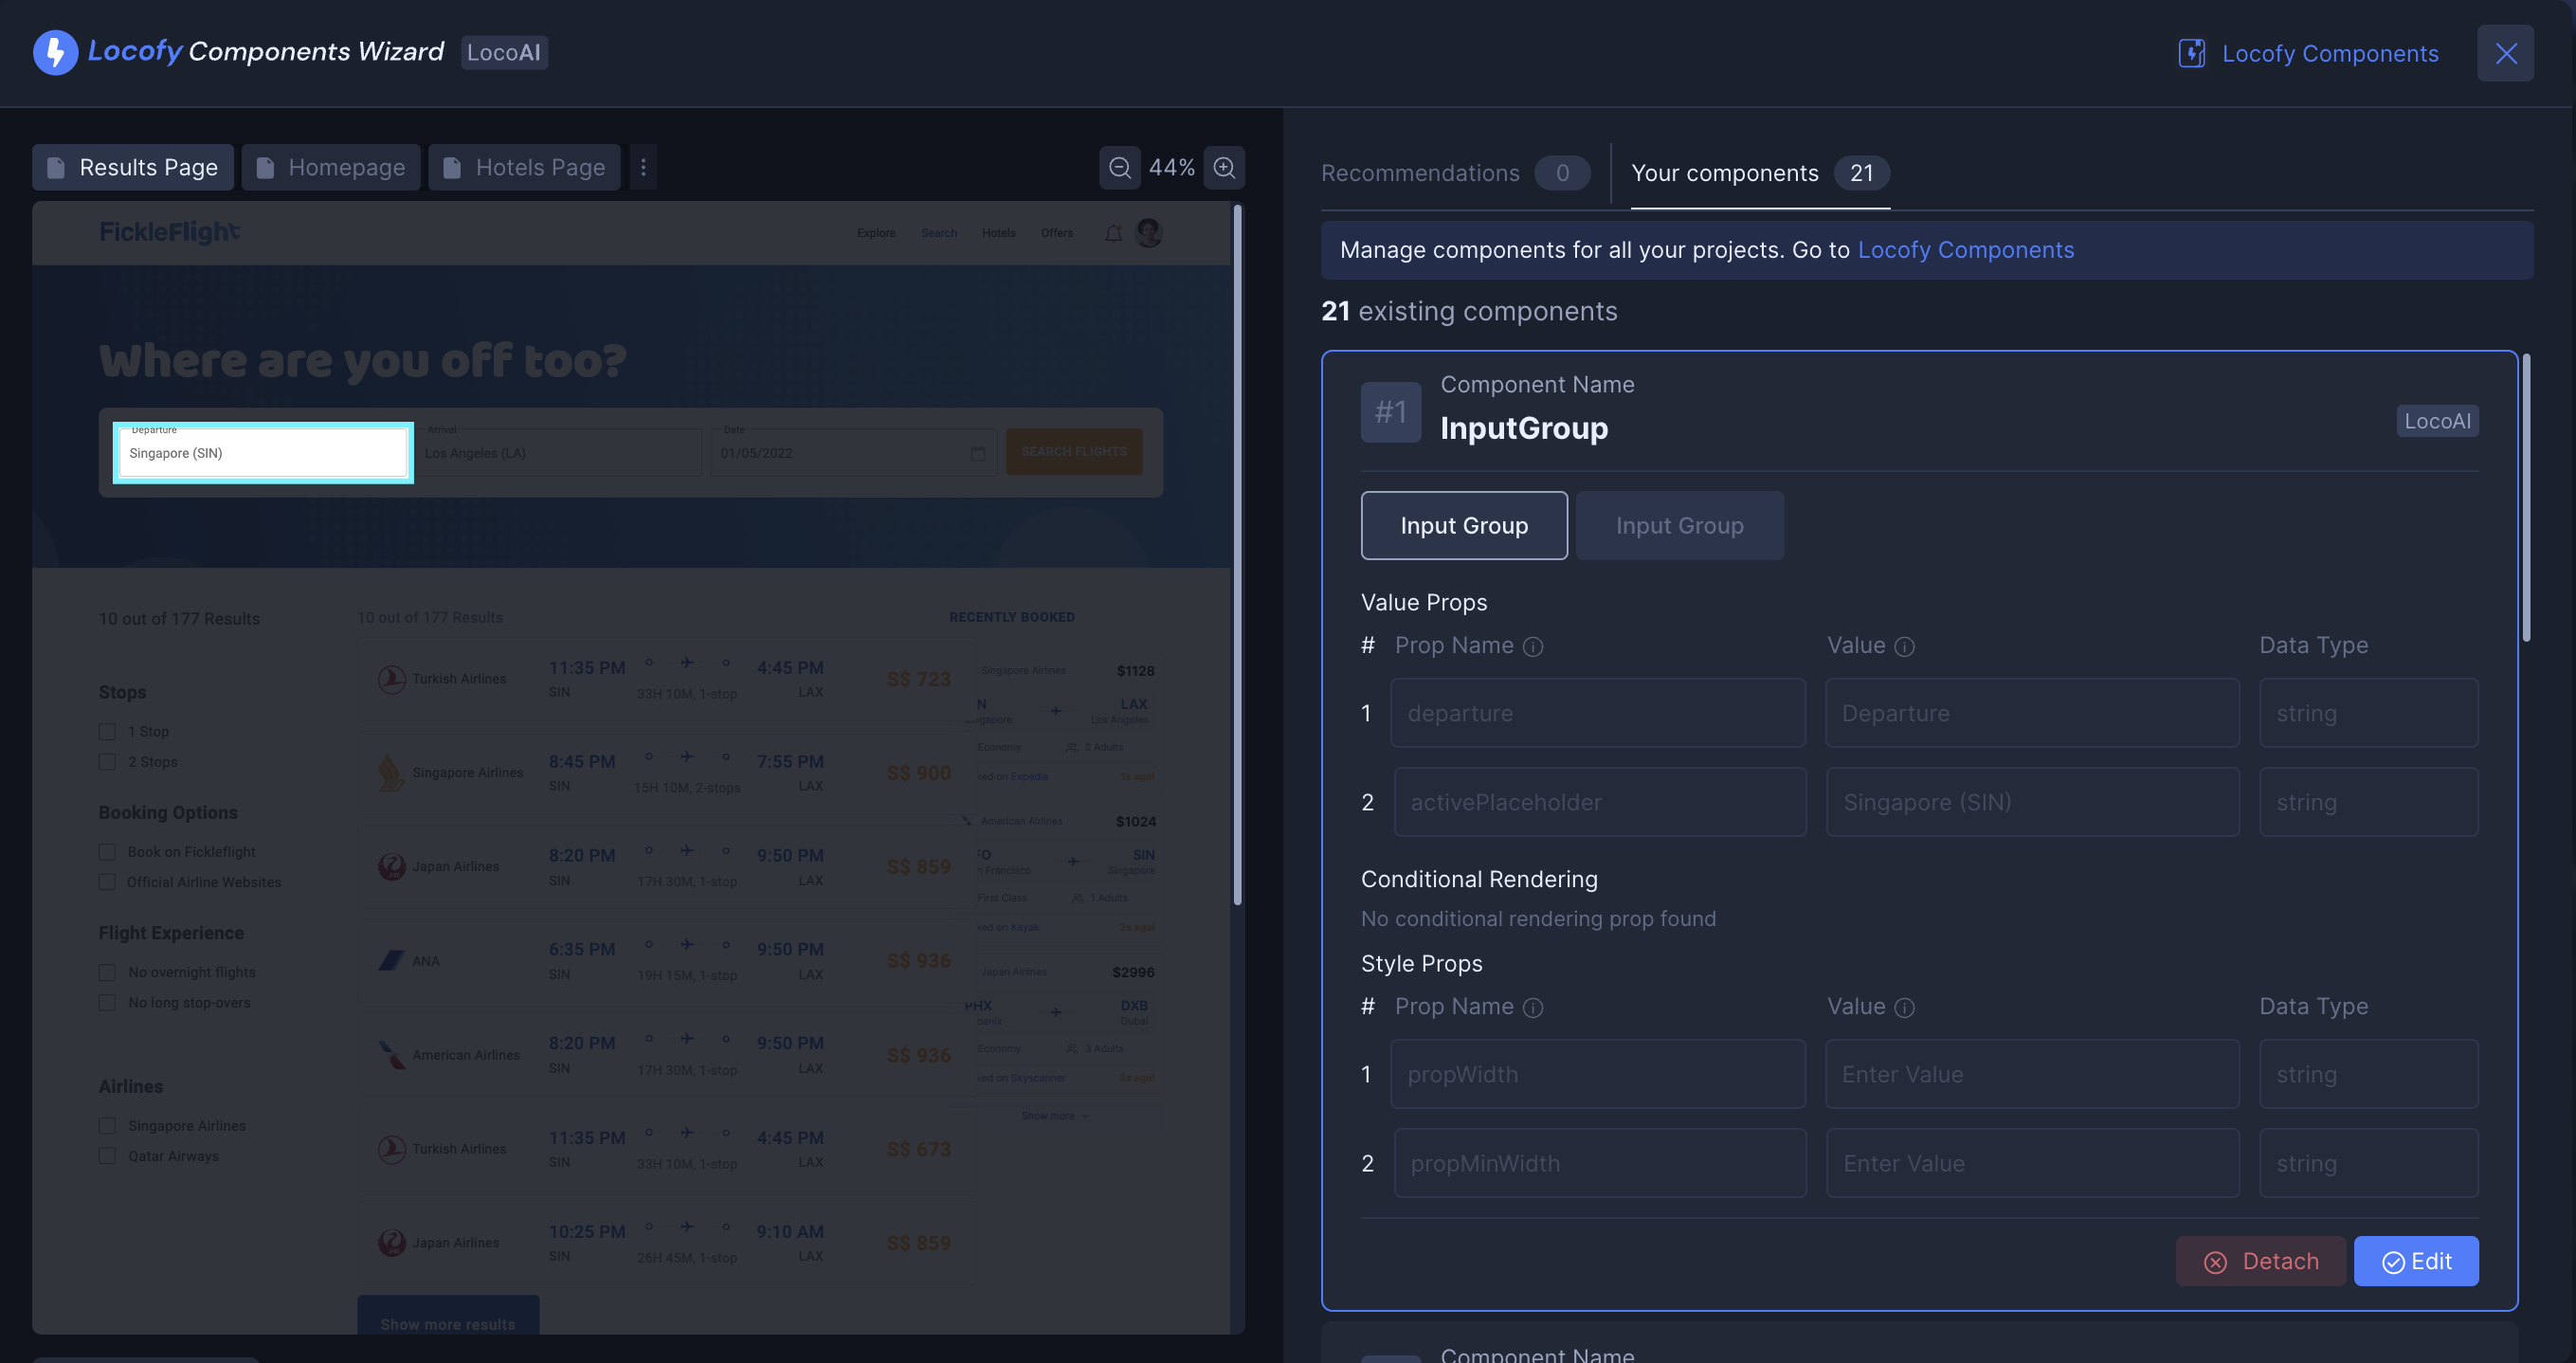
Components and props
Edit component instances, props, names, and detach components when needed.
Includes LocoAI-powered recommendations for improving component structure.
Create components, props, and state
Convert elements into reusable components, add props, and define state variables.

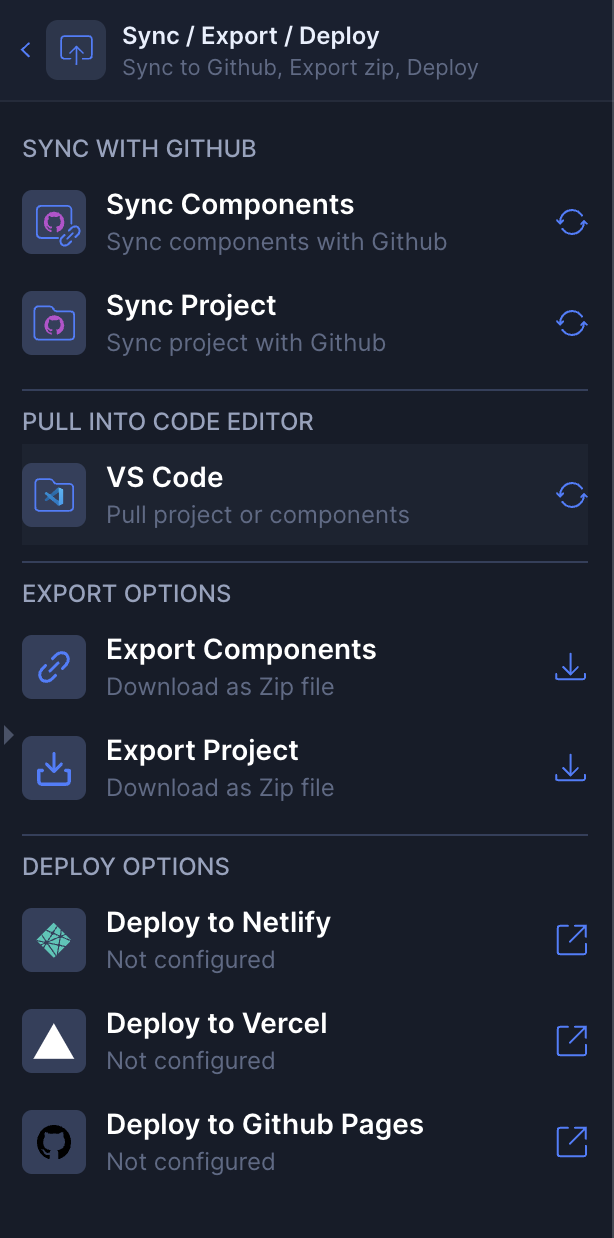
Configure, sync, export, and deploy
From Visual Mode, you can:
- Sync to GitHub
- Pull code into VS Code
- Export projects or components
- Deploy to Netlify, Vercel, or GitHub Pages
Agent Mode
Agent Mode allows you to refine and enhance your UI using natural language prompts.
You can enter Agent Mode using the mode switch in the top toolbar. When enabled, Agent Mode replaces the Visual Mode panel.
In Agent Mode, you can:
- Improve accessibility
- Add theming such as light and dark mode
- Enhance responsiveness
- Add internationalisation
- Make UI refinements without manual code edits
You can switch back to Visual Mode at any time to continue using structured controls.
Read more about Agent Mode in the Agent Mode guide.